
I put the finishing touches on the skirt last night, after adding the inset and turning up the hem yesterday afternoon. I'm very happy with how the final product turned out. I still need to drop a few more pounds (as anticipated) before it really fits perfectly, but I love the shape of the skirt and the way the pleats hang at the back. I did much of the finishing by hand, particularly around the inset itself in order to keep everything looking clean. I usually do most finishing work by hand, but I was a bit more careful with this than I often am (especially if I'm trying to finish something quickly so I can wear it). Since I can't remember exactly what the fabric content is (a burn test only confirmed that it was a blend of some sort) I had to err on the side of caution and use a slightly lower setting on the iron than I would have if I were working with a pure wool suiting; and the fact that my interim iron is a lightweight p.o.s. that was left in our house by the previous owner didn't make perfect pressing any easier. So far the pleats are holding nicely, though, and I may get a better press when I hit them again with a heavier duty iron.


And a few more details of the pleated inset and button band...
(You can see the slightly pegged hem of the skirt in the first photo a bit better).


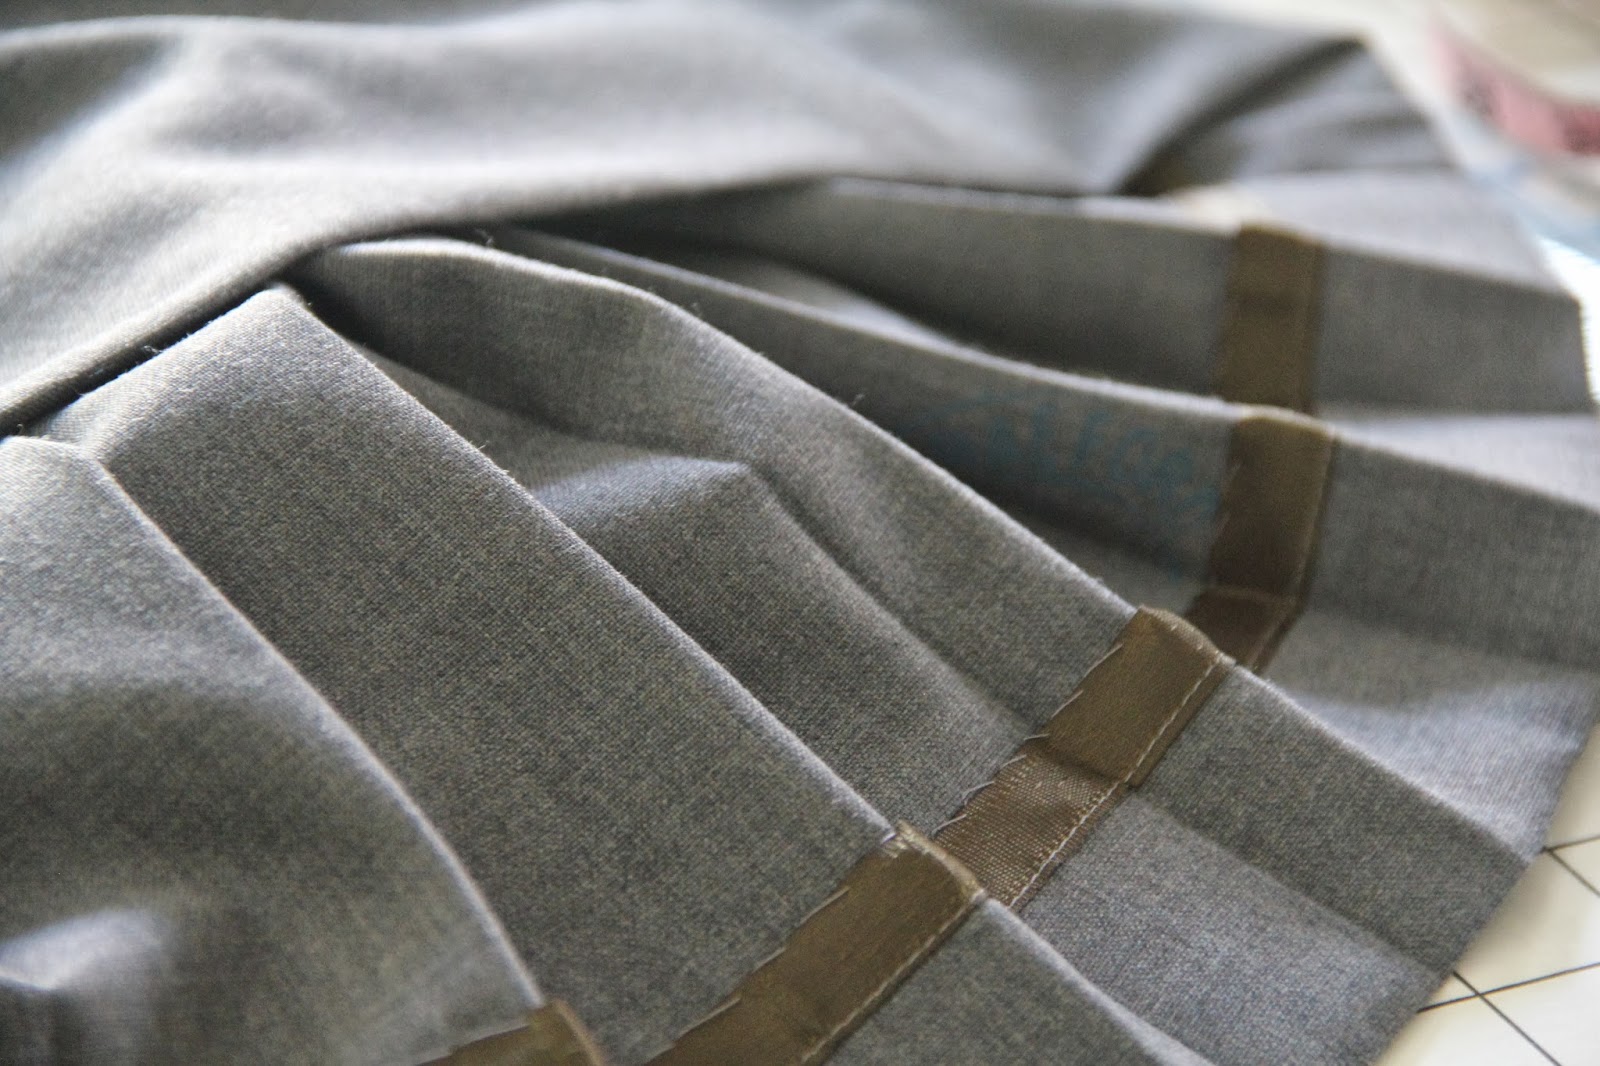
I finished the hem with an olive green hem tape I had in my stash (and admittedly could have been a little more meticulous about my hem stitches, but it was late, I'd been alone with a sick baby for three days, and I was tired). I've got a decent stash of hem tape that I picked up on super-clearance at a Ben Franklin's a few years ago. I really enjoy the little bit of contrast on the inside of my hems, and it does help minimize bulk as well.
I hope everyone has had a good week and is enjoying their weekend!
-Evie

Classic skirt - congratulations on a lovely garment.
ReplyDeleteNice! Zipper looks really neat too.
ReplyDeleteI like the contrasting tape - its a bit of fun like interesting linings. I've also seen them done to make a 'collection' out of a series of garments that don't look too matchy-matchy on the outside, but on the inside they reveal that they are a team. It's like a secret. :)
Beautiful skirt!
ReplyDeleteCute! I love the pleats.
ReplyDeleteI absolutely love this skirt! It is perfect!- the little tab across the top of the pleats...eeeek!
ReplyDeleteThank you all!
ReplyDelete