Of all the 1950s skirt patterns I have in my possession, I finally decided on this one because it was the simplest and therefore would be the easiest to use as a base for alterations. It has no front darts, only one back dart on each side, and no vent or pleat. One of my favorite things about working with vintage patterns is seeing the alterations that the former owners made, giving me a little insight into their lives in a way. This lady (who labeled all her pieces with her name: M. Anderson), was taller than most of the previous owners of my patterns. She didn't have to adjust the skirt length at all (or at least didn't do so before cutting). She did, however, have a little bit of a belly apparently :) She had slashed and spread to give herself a bit more room in the front. It's so fascinating what you can learn about people by looking at their old patterns.
When using '50s skirt patterns I generally shorten them by a few inches (since I'm slightly shorter than average and also like a bit higher hem than was fashionable in the '50s). For this skirt, though, I chose to leave it a bit longer. The existing skirt length (after hemming) was about 30 inches, and I'm just too short for that length of skirt. I did want to maintain a little more traditional length with this one, nonetheless, so I only shortened it by two inches. I also pegged the skirt slightly, since I like a bit closer fit (more akin to a tight fitting "wiggle" dress). The pleated inset in back will give me enough extra room to move freely even with the pegged hem.
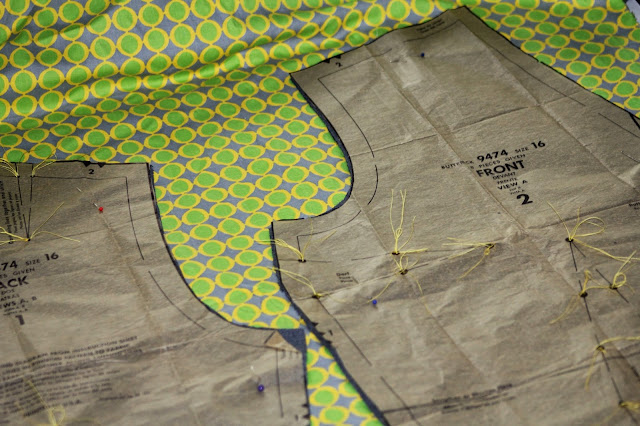
The fabric I'll be using as my vest lining is left from a dress I made a couple of years ago and passed along to a friend since it fit her better. I really didn't want to have to buy anything to line this with, so I went digging through my scrap bin and discovered I had more than enough of this print left to cut the vest lining. It works beautifully with the medium grey of the suiting, and it has plenty of personality to jazz up the garment a bit as well. I'm a big fan of a statement lining, and this one definitely makes a statement, I think.
The pleated skirt inset will be 8 inches high and 10 inches wide when finished, with a center box pleat and three pleats to either side of that. The top will be trimmed with a fairly narrow band, pointed at both ends and finished with a decorative button at either end. I'm toying with the idea of making covered buttons for the vest and skirt inset, but haven't decided yet. I love the look of covered buttons, very clean and tailored, but I'm not sure if I want to go that route or use something that will contrast (very slightly) with the fabric. I'll have to see how I feel when I get to that stage.
Happy sewing!


This project looks very interesting. Your fabric is special.
ReplyDeleteThank you, Gail. Hopefully it doesn't take me too long to get it all finished.
Delete