Monday, June 16, 2014

Playsuit Sew-Along Part 2

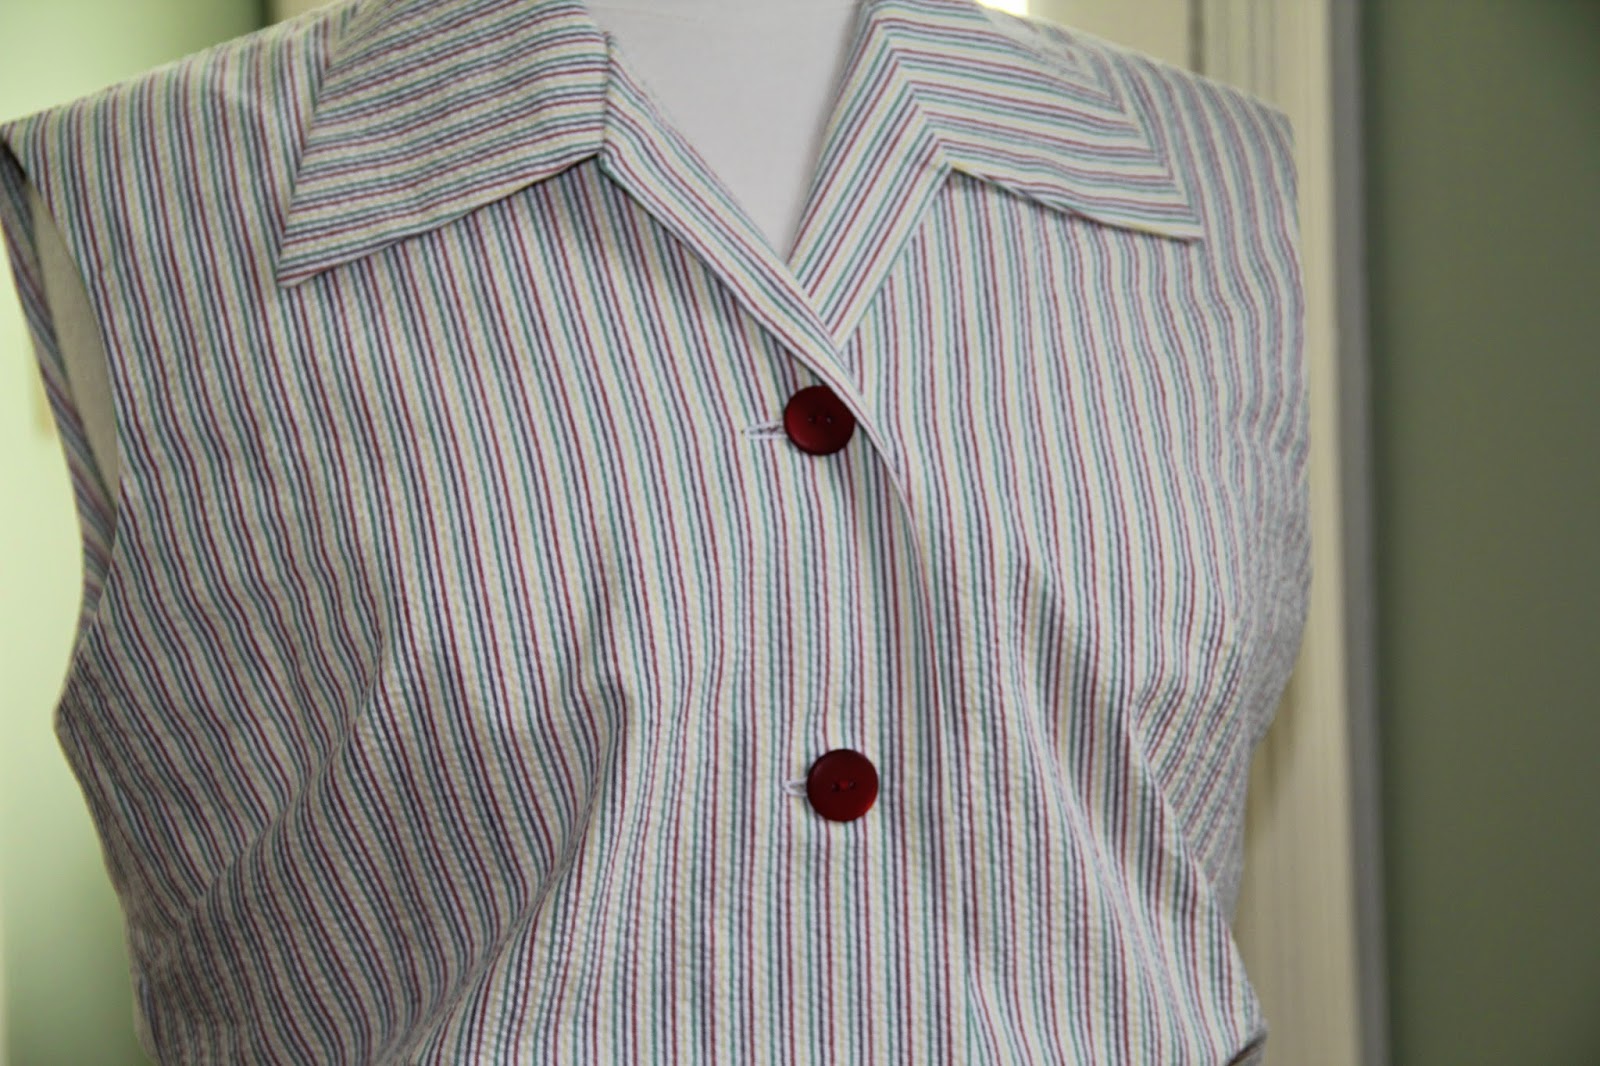
I've now finished the next two pieces of the planned four for my playsuit. The shorts and blouse were from two more patterns in my vintage pattern stash. The shorts pattern is from the playsuit pattern that I mentioned before, Advance 2407, which I still need to get a better picture of. I can't find one anywhere on the internet for it, so you'll just have to be patient. I made the shorts as a separate piece, eliminating the blouse portion of the playsuit and opting for a simpler, later style of blouse from the other pattern, New York 1292. I don't really have much to say about these two pieces, as they are fairly simple and went together quickly and easily, so without further ado, here are the photos of the finished shorts, blouse and halter from the previous post all together. 

1940s seersucker stripe playsuit playsuit sew-along


And here is the halter top with the shorts...


The fourth and final piece I'll be making is a coordinating skirt in a solid; something that will be very easy to incorporate into my existing wardrobe. The fabric I'm using is a purplish-navy linen/rayon blend that matches very nicely with the blue stripe in the seersucker. I'll be using New York 1292 for the skirt as well, but I'm not going to add the triangular appliquéd pieces on the sides as I do want to maintain a simpler, cleaner line. Originally I was thinking of using a 1970s skirt pattern that I have. It's very similar in style, A-line and with buttons down the front, but it's a slimmer skirt, and I think that this slightly fuller A-line will work better with the other playsuit pieces. 


And just for good measure, here's my little helper. He just turned one a few weeks ago. I can't believe how big he's getting! (He hates when I try and wipe his face, which is why it's covered in blueberry oatmeal). 


Have a great week!

Friday, June 6, 2014

Playsuit Sew-Along Part 1

When Stephanie announced that she was going to be hosting a playsuit sew-along a few weeks ago, I knew that I wanted to participate. I had a little time before the sew-along started, and I already have fabric and a pattern in my queue for one for this summer anyway. It was just meant to be. My plan has morphed a little since my original design idea. At first I intended to make a pattern I've used before, one from right around 1940, and just sew it up without alterations. Once I got to thinking more about it and looking through everyone's inspiration pictures I decided to do something a little different. I'm using the shorts portion of the original (pleated shorts with a button fly), but have opted instead to make a halter top, sleeveless blouse and coordinating overskirt. I've got the shorts and blouse cut out, the skirt fabric is in the wash this very moment, and the halter/crop top is nearly finished. I just need to add the buttons and buttonholes at the back and finish stitching down the lining at the center front. The fabric for the halter, shorts and blouse is a lovely striped seersucker I bought a couple of years ago. I'll have more information about my patterns for the other portions of the playsuit in upcoming posts, but for now I'll just tell you about the halter quickly. 

I used the beach bustier pattern from Mrs. Depew Vintage, one I had fallen in love with after seeing Tasha's version. I made the size small (34 inch bust), and I'm pretty happy with the fit without making any alterations. My actual measurement is 35, and I wear a C cup and the fit is almost perfect. Generally patterns like this tend to fit best on smaller cup sizes, but having read Tasha's review I figured this one would be just about right. This pattern would be great for anyone with a smaller band size and larger cup, probably best fitting a C or D cup, something that's fairly hard to find with vintage patterns in my experience. I interfaced the front of the lining pieces to give the top a little more structure because I wanted to be comfortable wearing it without a bra. I also added boning just at the center front, which I attached to the lining, in order to help keep the front sitting straight when worn. 


I should have set the straps in at an angle, but wasn't really thinking, and I'm actually considering making them convertible, so I can wear it either as a halter or cross-back. I'd use small buttons inside the back band and buttonholes in the ends of the ties. They sit flat in front if the straps are arranged that way, and it doesn't show quite so much when it's on me and not the mannequin. I'm really looking forward to getting the other pieces finished and having so many new separates to mix and match with the rest of my wardrobe!

Monday, June 2, 2014

I might have a new favorite.

I know I promised pictures of the big, edwardian project I've been working on, but haven't had a chance to finish some of the details yet, and my corset is on loan to my mother so she can use it as a guide for putting hers together. I did take a few pictures of the (VERY wrinkled) petticoat, blouse and skirt just so you can get a quick peak at the ensemble. Hopefully I'll have that all finished up soon. 

In the meantime, however, I made myself a new everyday dress. It's from a mail order pattern I've had in my collection for a while. I don't have an exact date on the pattern, but it looks like a very early 40s design. It's Anne Adams 4811. I wanted to make something a little different than most of what I have in my current wardrobe, and this softer styled shirtdress was just what I was looking for. The rayon challis print that I used for it makes for an incredibly light, comfortable summer dress. 


I interfaced the collar and front facings to keep the edges nice and crisp and support the buttons/buttonholes in this fairly limp-bodied fabric, and the drape and feel of the whole dress is wonderful. I ended up needing to grade all the seams in at the waist, as well as grading them in slightly over the bust and through the shoulders. The pattern as is was surprisingly rectangular, despite the very shapely envelope illustration. I'm very happy with the final fit of the dress. The only other real change I made was to shift the bust gathers up about 1.5 inches (as some of you may have seen in my query on Sew Retro). The original position of the gathers was ridiculously and unflatteringly low, even if it had been an earlier 1930s, droopy chested dress. Moving them up made a HUGE difference to the overall look of the dress. I actually wasn't sure how much I was going to like it once I started assembling the pieces, but now that it's finished I honestly think it might be my new favorite dress. I kind of want to make three more. 


This dress will definitely be getting a lot of wear this summer and into the fall. It's nice to have something with a slightly different silhouette than most of my other clothes, and the colors make me really happy. I've got enough of the fabric left for another project, and I think I may whip up some sort of 1930s style Hooverette, or maybe another version of my other favorite dresses:


I'll leave you with a couple of pictures of my edwardian ensemble (Please excuse the wrinkles. They were in a bag forever while waiting to be finished and ironing all that fabric just wasn't in the cards yesterday, especially since I was putting all of it right back in a bag.) 


Hope everyone is having a good start to the week!
Related Posts Plugin for WordPress, Blogger...